Showing posts with label Art and craft with kids. Show all posts

Tuesday, September 15, 2015

Bugs and Insects Theme Activities - Part 2

On top of the activities we have on the shelf, we also filled our days with many fun and creative bugs and insects related activities!

1) Toilet Rolls and Egg Cartons Bugs


2) What's in my Garden Mix Medium Collage


3) Pom Pom Snail


4) Insect Theme 1 to 5 Number Chart


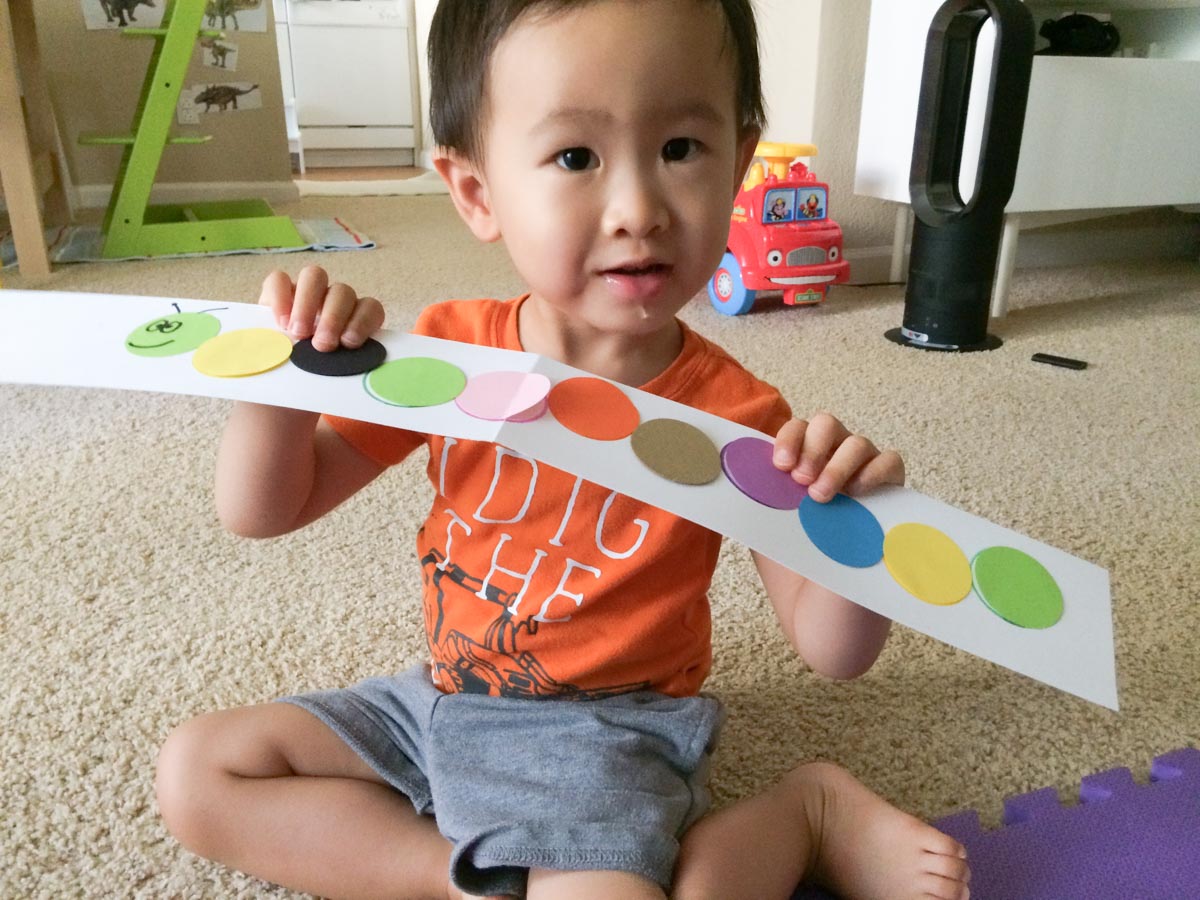
5) The Very Long Caterpillar Color Matching Activity
Xue loved this activity so much that we went on to make an even longer caterpillar the next day.


6) Bugs Colour Sorting Sensory Bin


7) Do-a-Dot Insect Theme Worksheets
These amazing worksheets are from Gift of Curiosity.


8) Insect Stickers and Matching Activity


And this concludes our fun-filled Bugs and Insects month!

Saturday, July 18, 2015

Nature Collage

There were these beautiful fallen leaves and petals everywhere around our neighbourhood and during our evening walk one day, we gathered some of them and brought them home. The next morning, we made a Nature Collage! This was what we did: I cut a frame with cardstock paper and placed it on the sticky side of the contact paper. And then Xue arranged and sticked the leaves and petals on the contact paper. When he was all done, I layered another piece of contact paper over to seal the art work. A perfect craft activity for Summer!


Friday, June 26, 2015

Stamp the town!

We did some stamping art with toilet rolls and sponges  few weeks back and we are back for more stamping actions this week, with potatoes! Xue love this activity to bits, so much so that he wanted more paper to continue stamping away. Maybe he was really amused by the potato, something he has always seen on his plate but never thought he could play with it this way. This was our most elaborated painting project as the whole art work took us 4 separate sessions to complete.

Session 1: We painted the paper green and let it to dry overnight.

Session 2: I told him we are building a town and the town needs some roads. Lucky me, I found some  roads stickers and put them to good use here. We sticked on the roads stickers. Alternatively, try giving your tot pieces of washi tapes/ coloured paper tapes and get them to connect like roads. If your kid is older, you can cut out black strips of paper and get him/her to paste them on with glue.


Session 3: Xue's favourite part of the project! We stamped on houses for the town with potatoes.  I cut out a potato into half and carve out houses on each half. I told him that we were building houses for everyone in the family and he told me who each house was for. So cute.


One important tip if you are going to try potato stamping! Use very little paint. I made the mistake of providing too much paint initially and since the potato don't absorb paint, I ended up with some thick blotches of paint on the paper instead of cute little houses.

Session 4: For this last part of the activity, I gave him foam/ felt vehicle stickers and he happily pasted them all over his town.


And we were all done, our Stamp the Town art work!


Sunday, May 31, 2015

Window Collage


Here's a confession. We wanted to make a sun catcher but gosh, I bought the wrong contact paper! Turns out that this matte contact paper blocks out most of the light and we don't get the beautiful colours on the floor when the afternoon sun shines through our balcony window. What a blooper. Still, I must give this awesome activity a fanciful name like window collage art so that we can all forget about the sun catcher. We have been doing lots of pasting and sticking at home these days and just changing things up a little gets Xue excited about the activity every time. Give children different materials like paper, cardboard, tissue paper, feathers, cellophane paper etc to work with, or use a different medium like stick glue, white glue, glue dots, double side tape etc or simply changing the environment like on the balcony window, on the floor or working outdoors etc.

Here's how we carried out the activity. I first attached the contact paper, sticky side facing out on the balcony window, by carefully peeling off the backing of the edges of the contact paper and then use a sticky tape to tape the paper down on the window. Then I remove the rest of the backing. I cut out random shapes of cellophane paper and coloured tissue papers the night before. If your kid is older, I think he/she can do this cutting step together. Once we are all done, I pasted another sheet of contact paper (approximately the same size) onto each collage, this time sticky side facing inwards and sealed off the edges with washi tapes.


Look at how delighted Xue is checking out the cellophane paper and sticking them on the balcony window. Verdict: Xue loved this activity and I might just go look for the right contact paper and make a real sun catcher the next time round.

Sunday, May 24, 2015

DIY Aquarium

This is totally impromptu. After breakfast, we were just reading a book about fishes and I told him about how his grandfathers used to have fishes as pets at home and he signed to me that he wanted one too. Since he's too young for pets now, I thought why not make a fish tank instead. In 10 minutes, I found a box, printed and cut out some common saltwater aquarium fishes, cut out the foam corals and dug out my ever handy star and circle stickers and there we have our activity ready!


We added the word 'fish' later. I drew out the word and asked him to match the foam stickers to the letter.


Little buddy is really pleased about having his 'fishes' in his DIY fish tank! After the session, he wanted to know the names of all his fishes. I'm equally clueless here and so we went on to an identification activity where we searched for their names on the web. He's pretty sharp to point out any matches and I showed him the differences when it was a mismatch. Love such activity, fun, minimal prep time and maximum learning! I learnt so much about aquarium fishes myself too!